Your Container Garden's Spring Hydrangea Spruce Up
Winter's end is a time for gardeners to hustle, kind of like Spring cleaning - in the dirt. My container garden was drab all winter, except for a few evergreens. So I'm eager to enjoy some color and vibrance again.

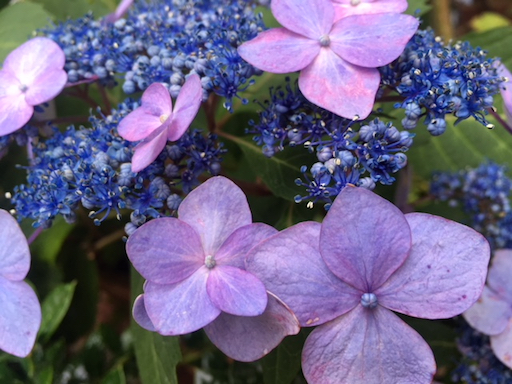
Thankfully, my five hydrangeas - some of which have been in pots for 11 years - are awakening with tiny buds, which inspired me to get to work so that my garden will blossom as soon as possible.
The beauty of my garden is thrilling; it makes this city girl happy; my neighbors love it, too, and we often gather around it chatting. And, as I mentioned in November 20's article: "Create Your Holiday City Garden in Pots!" being among nature, plants and trees, improves your well-being.

I advise my clients to get outside into the fresh air because "The benefits of nature span a remarkable breadth of health outcomes with evidence for ... reductions in ... all diseases ... from cardiovascular disease, improved healing times, self-perceived general health, reduced stress, reduced respiratory illnesses and allergies... a reduced risk of poor mental health, improved social cohesion, and improved cognitive ability," according to the American Journal of Public Health.
I took the opportunity of this perfect weekend to prepare my hydrangeas for a flourishing spring display, with the advice of my garden guru, Luis Mármol, Dumbarton Oaks Horticulturist and Garden Designer.

First, the pruning, the scariest part for me. In my hydrangeas' 11 years, I didn't dare cut them for fear of losing blossoms. But Luis said pruning is necessary. It adds fullness and increases blooms. He said to cut off the ends of the most brittle branches. If they snap off easily when you bend them, those are the branches you can lose.
Secondly, prepare the new, larger pot by creating drainage. I drilled new holes in the bottom of the pot, and filled it with a layer of old aluminum cans. Luis added an additional thin layer of leaves and then potting soil.
Third, remove the plant carefully from its container, and pull apart some of the roots with your hands or a garden fork.
Finally, place the plant in the pot so that it is centered. Pour potting soil around the plant to fill in the container. Be sure there are three "fingers" of space between the top of the soil and the top of the pot. This way, when you water, the water stays in the pot and actually waters the hydrangea instead of spilling onto the ground.


Now, for the hardest part: Waiting!