Pulp Fiction
Yes, I’ve got DWS (Denmark Withdrawal Syndrome) and still walking those dusty halls of Elsinore Castle.
“We know what we are, but not what we may be.” William Shakespeare, Hamlet
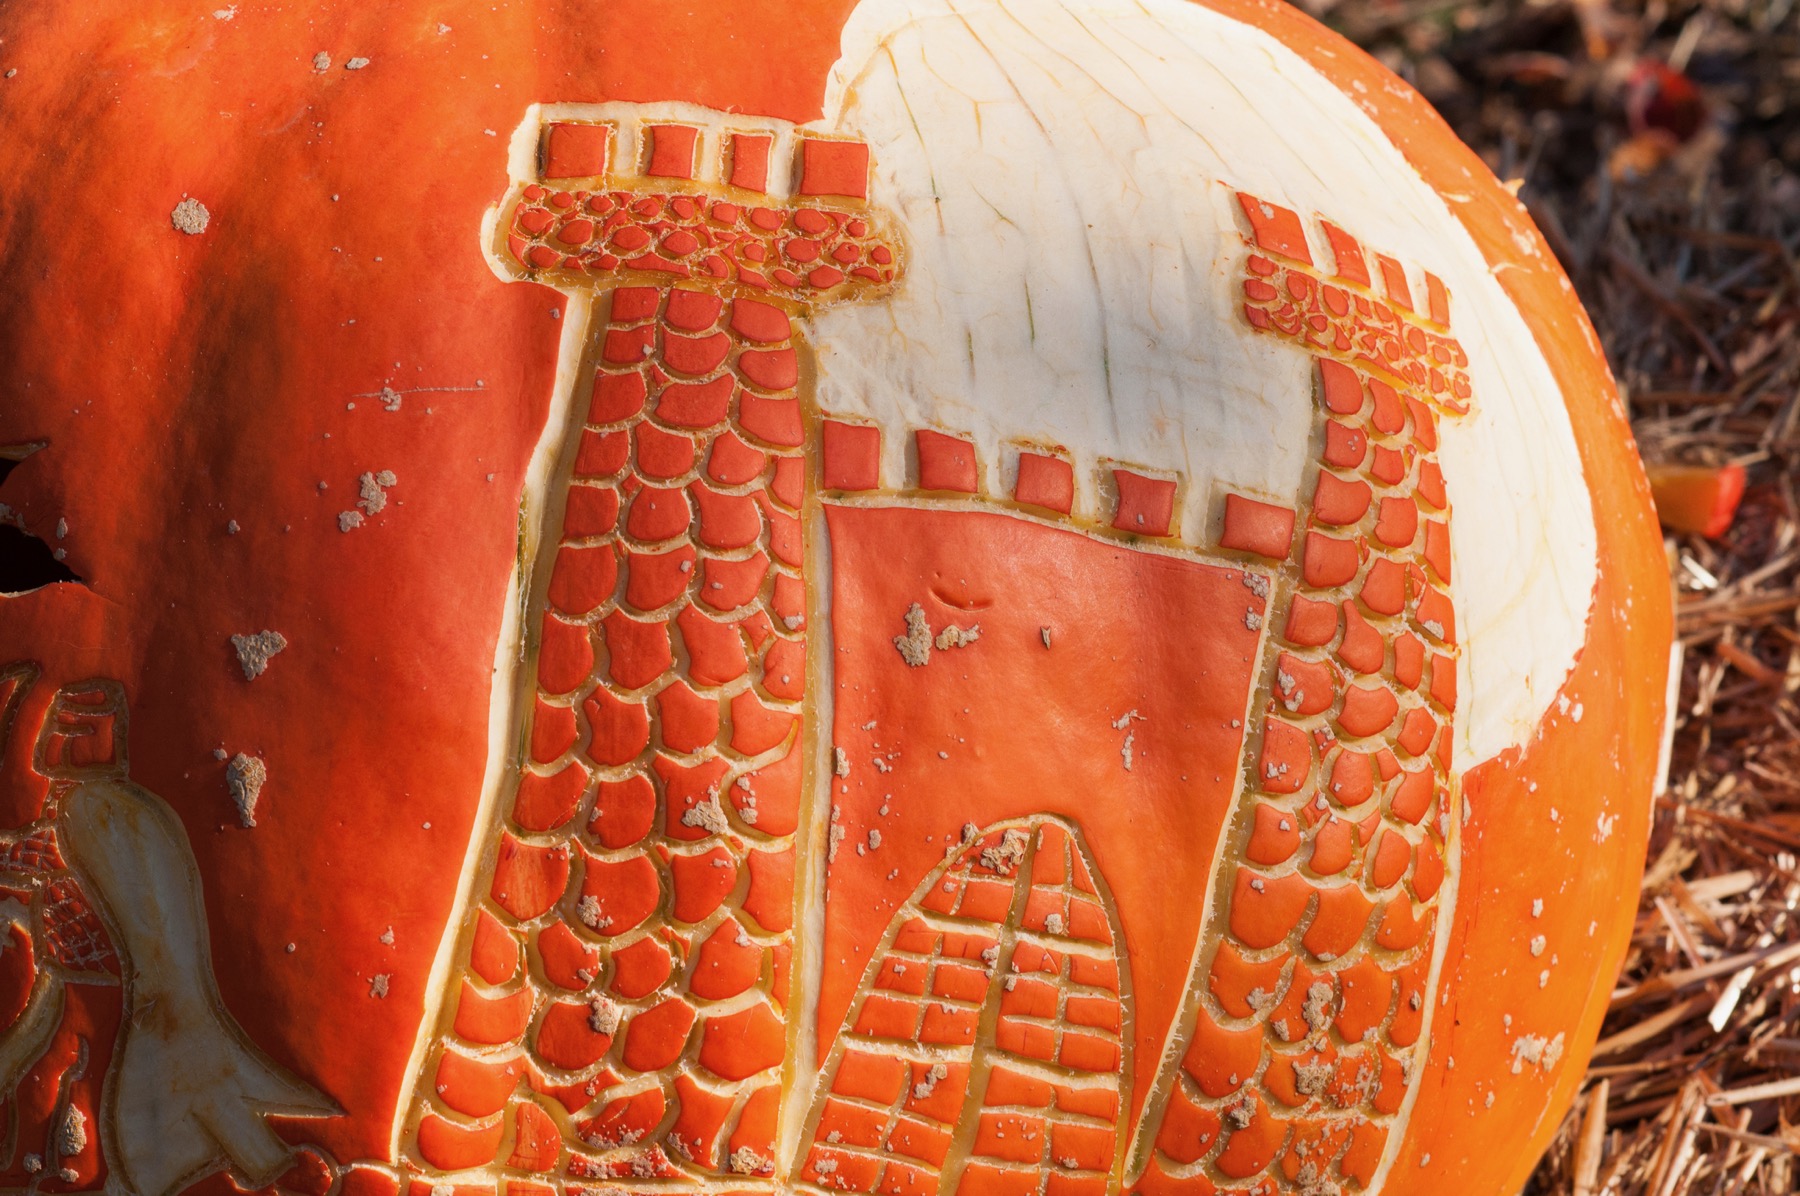
If you decide to turn a plebeian gourd into something nobler, first find a pumpkin you really, really like.
Not so enthused about spending all day making a mess in the kitchen for a Jack O'Lantern? Just think of all you can do with the innards!
First cut out a design and turn it into a stencil so you can draw the design onto the pumpkin's surface, or you can poke holes into the stencil design and pumpkin to transfer the image.
You'll need:
- Fresh, clean pumpkin (interior as well as exterior if carving)
- Masking, duct, or packing tape
- Pumpkin poking tool or pushpin
- Pumpkin carving tools
- Stencil design
- Scissors
- X-Acto blade (optional)
- Black Sharpie marker
- Rubbing alcohol and a rag
- Flour, baking soda, or cornstarch
1. Wash the pumpkin or wipe it with a damp cloth and let it dry.
2. Your stencil should be made from something flexible enough to bend around the curve of the pumpkin.
3. Cut slits about 1-2 inches long along the edges of the paper at intervals of about 2 inches. This will help the design curve around the form of the pumpkin. If you are making a stencil, cut out the interior of the design before making the slits along the sides.
4. Prepare short lengths of masking tape to hold the stencil in place long enough to transfer your stencil but not damage the pumpkin when you pull it off.
5. Position your stencil and then hold it with one hand and be sure to put enough tape on so the stencil doesn’t move. Check the positioning of the design because after you start to poke holes or draw marker lines, making corrections will be difficult.
6. Because of the uneven and curved nature of a pumpkin, use your one free hand to flatten a small piece of a stencil at a time, and work your way around the design. If you plan to carve, poke holes every 1/4 inch or so with your poking tool or pushpin. You can also use an X-Acto blade to trace and cut through the design, scoring the pumpkin in the process.
If you are painting rather than carving, mark the outline of the stencil on the pumpkin with a waterproof marker rather than painting the entire design through the stencil. A stencil that isn't flush with the surface runs the risk of allowing paint to bleed into areas where you don't want it.
7. After you have finished poking holes or drawing outlines, remove the template. If you made holes, rub the design area with flour, baking soda, or cornstarch. This will help make the dots and lines more visible and easier to carve.
8. Show off your creation.